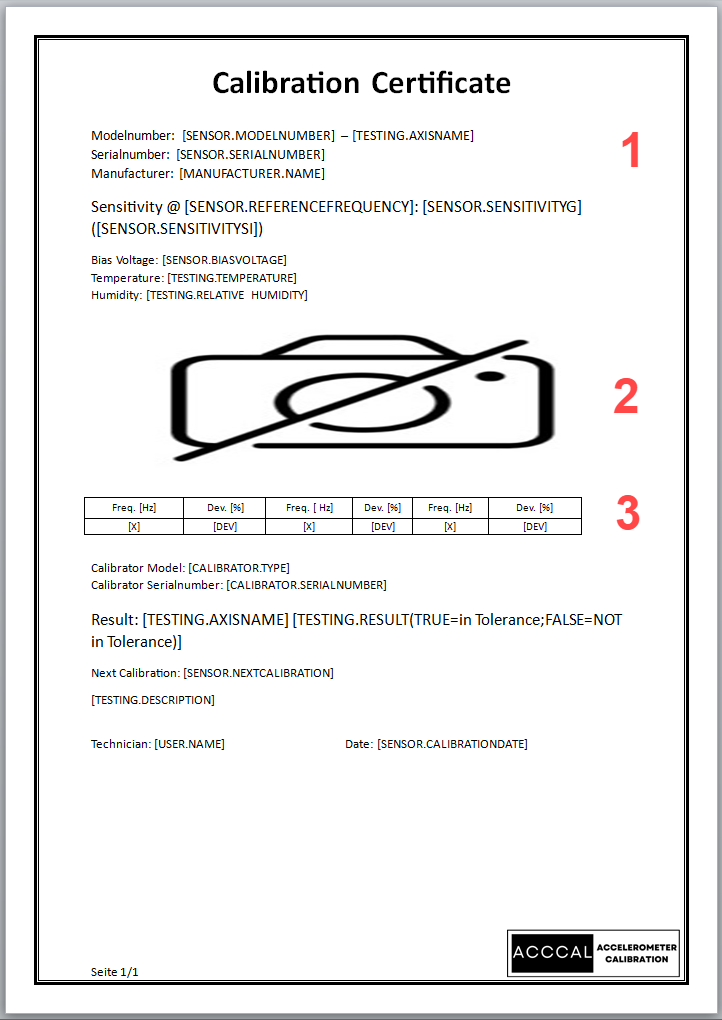
Report templates are created in MS Word and saved as .docx files. It is best to use an existing template and adapt it to your needs. We will use the simple “Boring” template to show you how to do this. Basic knowledge of Word is required for this task. Open the Boring.docx template in Word and you will see a simple structure for a calibration certificate.

In addition to normal text, the corresponding placeholders are located at position [1]. They can be formatted as required. When the certificate is generated, these are replaced by the values determined while retaining the formatting.
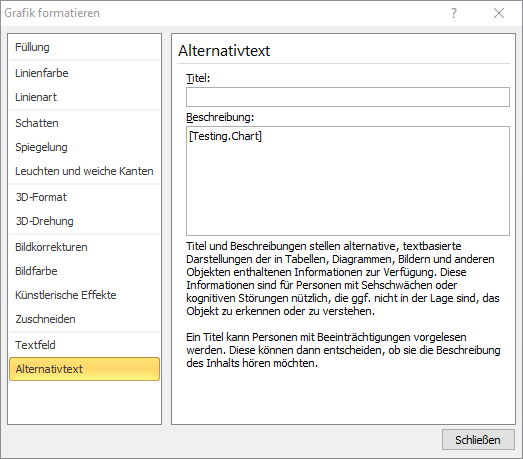
An image is inserted at position [2]. In our case, this is the sensitivity diagram. By dragging the image to the desired size, the size and position of the image can be defined. The image in question is entered in the alternative text of the image. Depending on the version of Word you are using, this dialog may look different.

Again, parameters are also permitted for the replacement text, e.g: [TESTING.CHART(Resolution=1024×768)]. However, images can also be inserted using normal placeholders in the body text. e.g: [SENSOR.IMAGE(Size=50×50] generates the sensor image in the size 5cm by 5cm.
The deviations in sensitivity from the target value via the frequency are displayed in tabular form [3]. To do this, insert a table with two rows and the desired number of columns into the document. Again, the alternative text specifies which data you want to display. The alternative text for this is: [TESTING.POINTS]. The first line of the table serves as the column heading. Any text can be inserted here. In the second line, replacement texts are written to identify the calibration values. The following keywords are possible:
- [X]
Specified frequency - [YNominal]
Specified acceleration - [Y]
achieved acceleration - [Value] oder [SensitivitySI]
Measured sensitivity in mV/(m/s2) - [SensitivityG]
Measured sensitivity in mV/g - [Dev]
Deviation in % - [TolLow]
Allowable downward deviation at this frequency - [TolHigh]
Allowable upward deviation at this frequency - [Pass]
1 if successful otherwise 0
The number of columns to be displayed is determined by repeating the entry in the first column. The table can be formatted according to your requirements.
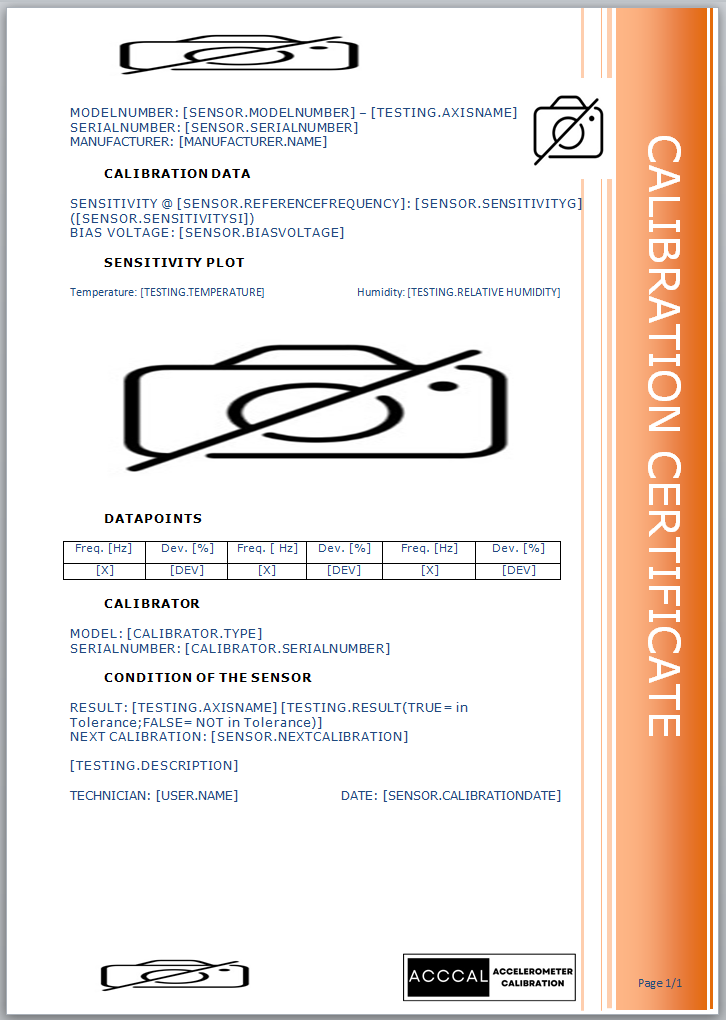
However, a template can also be much more complex. You can also insert replacement texts in the header and footer. One example of this is the Fancy.docx template.

Once your template is complete, it must be copied to the appropriate folder.
